Friday, October 19, 2018

Binding Tutorial

Ok, so I'm a late bloomer.  I have been quilting since 1978 by putting together interesting fabrics to make blankets.  One included a satin and cotton combination and all hand quilted.  Remember the days.   My first cotton baby quilt was a log cabin for my first child 37 years ago.  I truly love to make quilts.  I am not a great student when it comes to quilting however.  I am self taught and I rarely follow patterns to the letter, which causes all kinds of challenges -believe me.  So, binding has been a challenge. I like my binding to have diagonal seams.  I have tried different ways to make my bindings and many have resulted in binding that's too short or too long or lumpy.  I would panic every time I think of having to put a binding on a quilt. After 40 years of quilting, I finally sat down and attempted to solve my binding problem.  This is what I came up with. It may be a tried and true method for everyone, like I said, I'm a late bloomer.


1.  When you sew your binding onto the quilt, start just below the middle of the side of the quilt.  Make sure you have at least 12 inches of un-sewn binding at the start of your binding.

2.  Sew the binding around the quilt using the standard method.  Stop sewing 12 inches before the two ends join.  

3.  Open your binding and using a small ruler, make a 45 degree diagonal cut on one side of the binding strip


4.  Lay your small cutting board on top of the quilt where you are cutting your binding strips.  Put the the uncut binding strip on top of the board and then lay the cut strip on top of the uncut strip.  using your small ruler, measure 1/2 inch from the top edge of the diagonal strip and mark the uncut strip.

5.  Move the cut strip out of the way.  Using the marking as a reference point, lay your small square on the uncut strip.  Be sure your cutting the diagonal the right way.  I've made this mistake.


6.  After your two sides are cut,  sew your binding pieces together.  Having a large opening helps with this step.  Twelve inches is a bare minimum.  I generally leave a much larger opening between the two ends of the binding.


7.   Sew the binding onto the quilt.

8.  Press the binding away from the quilt.

 9.  Fold the binding over the edge of the quilt and press.  You can either machine or hand sew the binding to the quilt at this point.

Linking to:  Finished or Not Friday Can I Get A Whoop, Whoop, Show Off Saturday, Oh Scrap

Monday, October 15, 2018

Weekend Finds

It was a rainy cold weekend and I decided to stay home.  I continued to work on my strip donation quilts.  Two have been delivered and three more (the ones on the right) are ready.  The three on the left have batting and the backing and quilting is happening soon.  My goal was to have these done in 2 months.  I'm on track.  Find the story about these quilts HERE.


In addition, I bravely opened my tub full of UFO's.  I really hate to have UFO's so I attempt to finish everything I start because if they go into the UFO tub, they may never see the light of day again.  I wrote a post about this a couple of years ago HERE.  So, I am committed to finishing these projects.  Hold me accountable please.

#1  I think this is a quick finish
#2  One of the three patterns from Wildfire Designs on my list.

#3  I started this about 15 years ago.  I keep putting it off.  I really like the pattern and I still like the fabrics so.... I'll try to finish the top.

#4  A quilting project

#5 I took the class for this lovely at the 2018 Road To California Quilt Show.  I really love it and would like to finish it, the top and the quilting. 


 #6  Another Wildfire Designs Pattern.  

#7 A wall quilt from Wildfire Designs.

# 8  I only finished 8 Splendid Sampler blocks.  I need to figure out what to do with them.

I'm giving my self 6 months but I give myself permission to extend the goal date.  


Linking to: Design Wall Monday,  Linky Tuesday, Let's Be Social, Midweek Makers, NTT,


Thursday, October 11, 2018

Friendship Star Baby Quilt

Every year my husband and I travel south in January.  We live in Petersburg, which is located on an island in Southeast Alaska.  The only way to get on or off the island is to fly or take a boat. We pack our truck with our dog and necessities and travel to either Prince Rupert, BC, Canada or Bellingham, Washington on the Alaska Marine Highway System.  Once we get to the mainland, we drive to Anacortes, Washington and pick up our 5th wheel trailer and head toward the sun.  Last January I packed a small tote with quilting projects so I could sew along the way.  The trip to Bellingham is 2.5 days and it can be pretty gray outside and uneventful, so a quilt project is perfect for the journey.  I made this friendship star on the ferry between Petersburg and Bellingham.  Once the top was finished, it went into a bag and put in a safe place.

I pulled this friendship star quilt out of the UFO pile recently to get it ready to quilt.  


 I chose this lemony yellow and white dot for the backing fabric.  Don't you hate it when this happens.   This quilt was about 45 inches wide and the fabric is 42 inches wide.  I didn't want to cut another piece of fabric for just 3 inches, so I decided do a little piecing for the backing.


I pulled out my my stash of '30's reproduction fabric, which is pretty limited. 


 As I was digging, I found these 2.5" squares.  I decided to make a nine patch strip with the squares.


 I put the strip right down the middle of the backing fabric.


I layered the batting and quilt onto the back.  I folded the batting and top in half and put the center fold on the center of the 9 patch strip.  This quilt is ready to go.  It is back in the UFO pile-but it's ready.


Wednesday, October 3, 2018

Jewel Top

Here are a couple of photos of the progress on my Jewel quilt top.  

Isn't it hard to find just the right placement for a scrappy quilt.  I also need a design wall.

The lighting inside is much different than the outside lighting.

Here is the borderless top.  I'm still thinking about the border.  It will most likely be a strip of the background fabric.  I think 'Jewel' is the perfect name for this quilt.  Now, I am going to attempt to write a publishable pattern for this.  Thank you to Lorna at Sew Fresh Quilts for giving me tips and sharing a link to Cheryl at Meadow Mist Designs for pattern publishing.  Stay tuned!


Tuesday, October 2, 2018

OMG October

Teaching beginning sewing and quilting is one of my favorite things to do.  I love the look of accomplishment on the faces of people who have leaned a new skill and have created something.  Last month, I taught an adult beginning quilting class using "Make Your First Quilt" by Alex Anderson.  I like this book because it is small and it covers quilting basics thoroughly in an easy to read format.  

I have 3 Quilts of Valor to make this year.  One for my dad, one for my son-in-law, Joe and one for Joe's brother Nick.  I used patriotic fabrics to put together the sample block for the class to give myself a little head start on the quilt. 

My OMG for October is to make the rest of the blocks and put the quilt top together.  


Linking to: OMG,

Monday, September 24, 2018

OMG September Spring Robin Top Finish

I just love OMG!  I am the kind of person that needs a little extra push to put things on the top burner.  I finished the top of my Spring Robin quilt.  I wasn't sure if I should sell the top or quilt the thing and give it away.  I decided to quilt and finish it.  That will be my next OMG. 

I chose the lighter fabric with flowers and the blue tree branch fabric for the border.  All of these fabrics are from the Spring Robin collection by Clothworks.  


 This purple is what I've chosen for the binding.  


Linking to: OMG, Can I Get A Whoop, Whoop, NTT, 

Friday, September 21, 2018

Donation Quilt #1

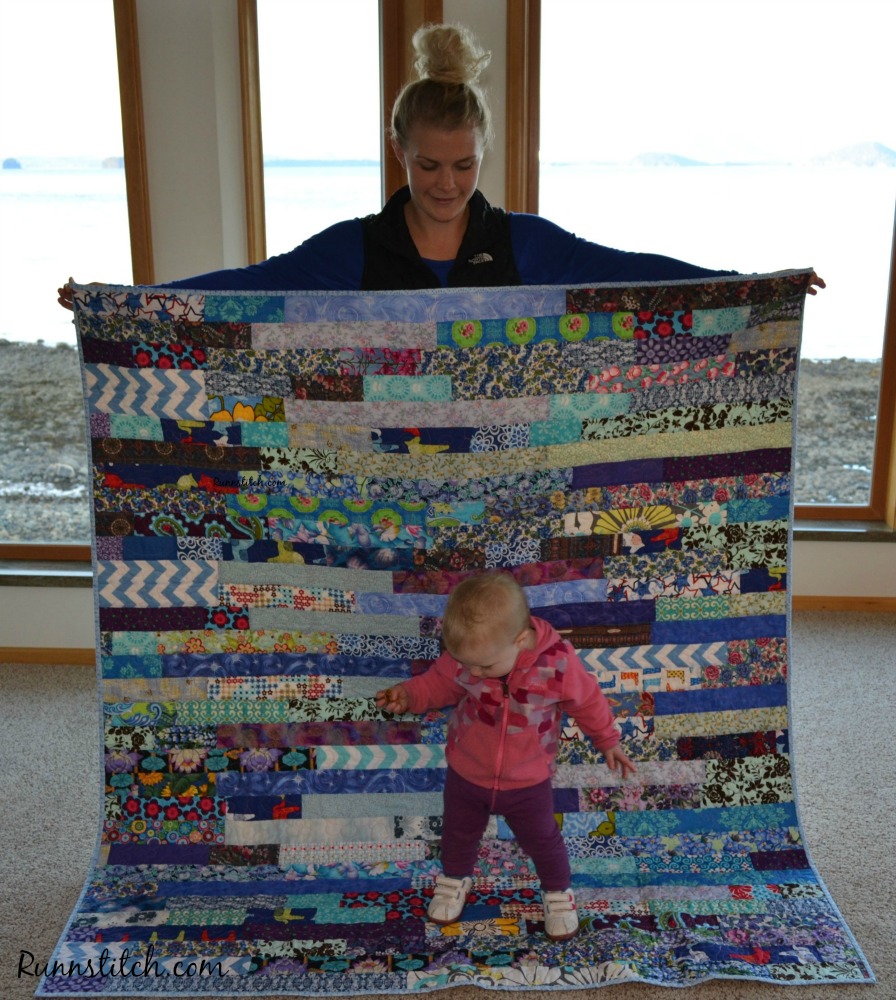
Earlier this month I posted a process for making your strips equal 1600 inches for making a 1600 quilt from scraps.  You can find that process HERE.  I've pieced, quilted and bound the first one and handed it over to my daughter Helen, who is the manager of our Long Term Care facility.  I have 8 more to go.  


Just a note, yes she is old enough.  She has a very youthful appearance.  Both of her little munchkins were hiding behind the quilt when the picture was taken.


Linking to: Oh Scrap,  Monday Making, Main Crush Monday, WOW, Let's Be Social, Midweek Makers, Brag About Your Beauties,