Showing posts with label Tutorial. Show all posts

Friday, October 19, 2018

Binding Tutorial

Ok, so I'm a late bloomer.  I have been quilting since 1978 by putting together interesting fabrics to make blankets.  One included a satin and cotton combination and all hand quilted.  Remember the days.   My first cotton baby quilt was a log cabin for my first child 37 years ago.  I truly love to make quilts.  I am not a great student when it comes to quilting however.  I am self taught and I rarely follow patterns to the letter, which causes all kinds of challenges -believe me.  So, binding has been a challenge. I like my binding to have diagonal seams.  I have tried different ways to make my bindings and many have resulted in binding that's too short or too long or lumpy.  I would panic every time I think of having to put a binding on a quilt. After 40 years of quilting, I finally sat down and attempted to solve my binding problem.  This is what I came up with. It may be a tried and true method for everyone, like I said, I'm a late bloomer.


1.  When you sew your binding onto the quilt, start just below the middle of the side of the quilt.  Make sure you have at least 12 inches of un-sewn binding at the start of your binding.

2.  Sew the binding around the quilt using the standard method.  Stop sewing 12 inches before the two ends join.  

3.  Open your binding and using a small ruler, make a 45 degree diagonal cut on one side of the binding strip


4.  Lay your small cutting board on top of the quilt where you are cutting your binding strips.  Put the the uncut binding strip on top of the board and then lay the cut strip on top of the uncut strip.  using your small ruler, measure 1/2 inch from the top edge of the diagonal strip and mark the uncut strip.

5.  Move the cut strip out of the way.  Using the marking as a reference point, lay your small square on the uncut strip.  Be sure your cutting the diagonal the right way.  I've made this mistake.


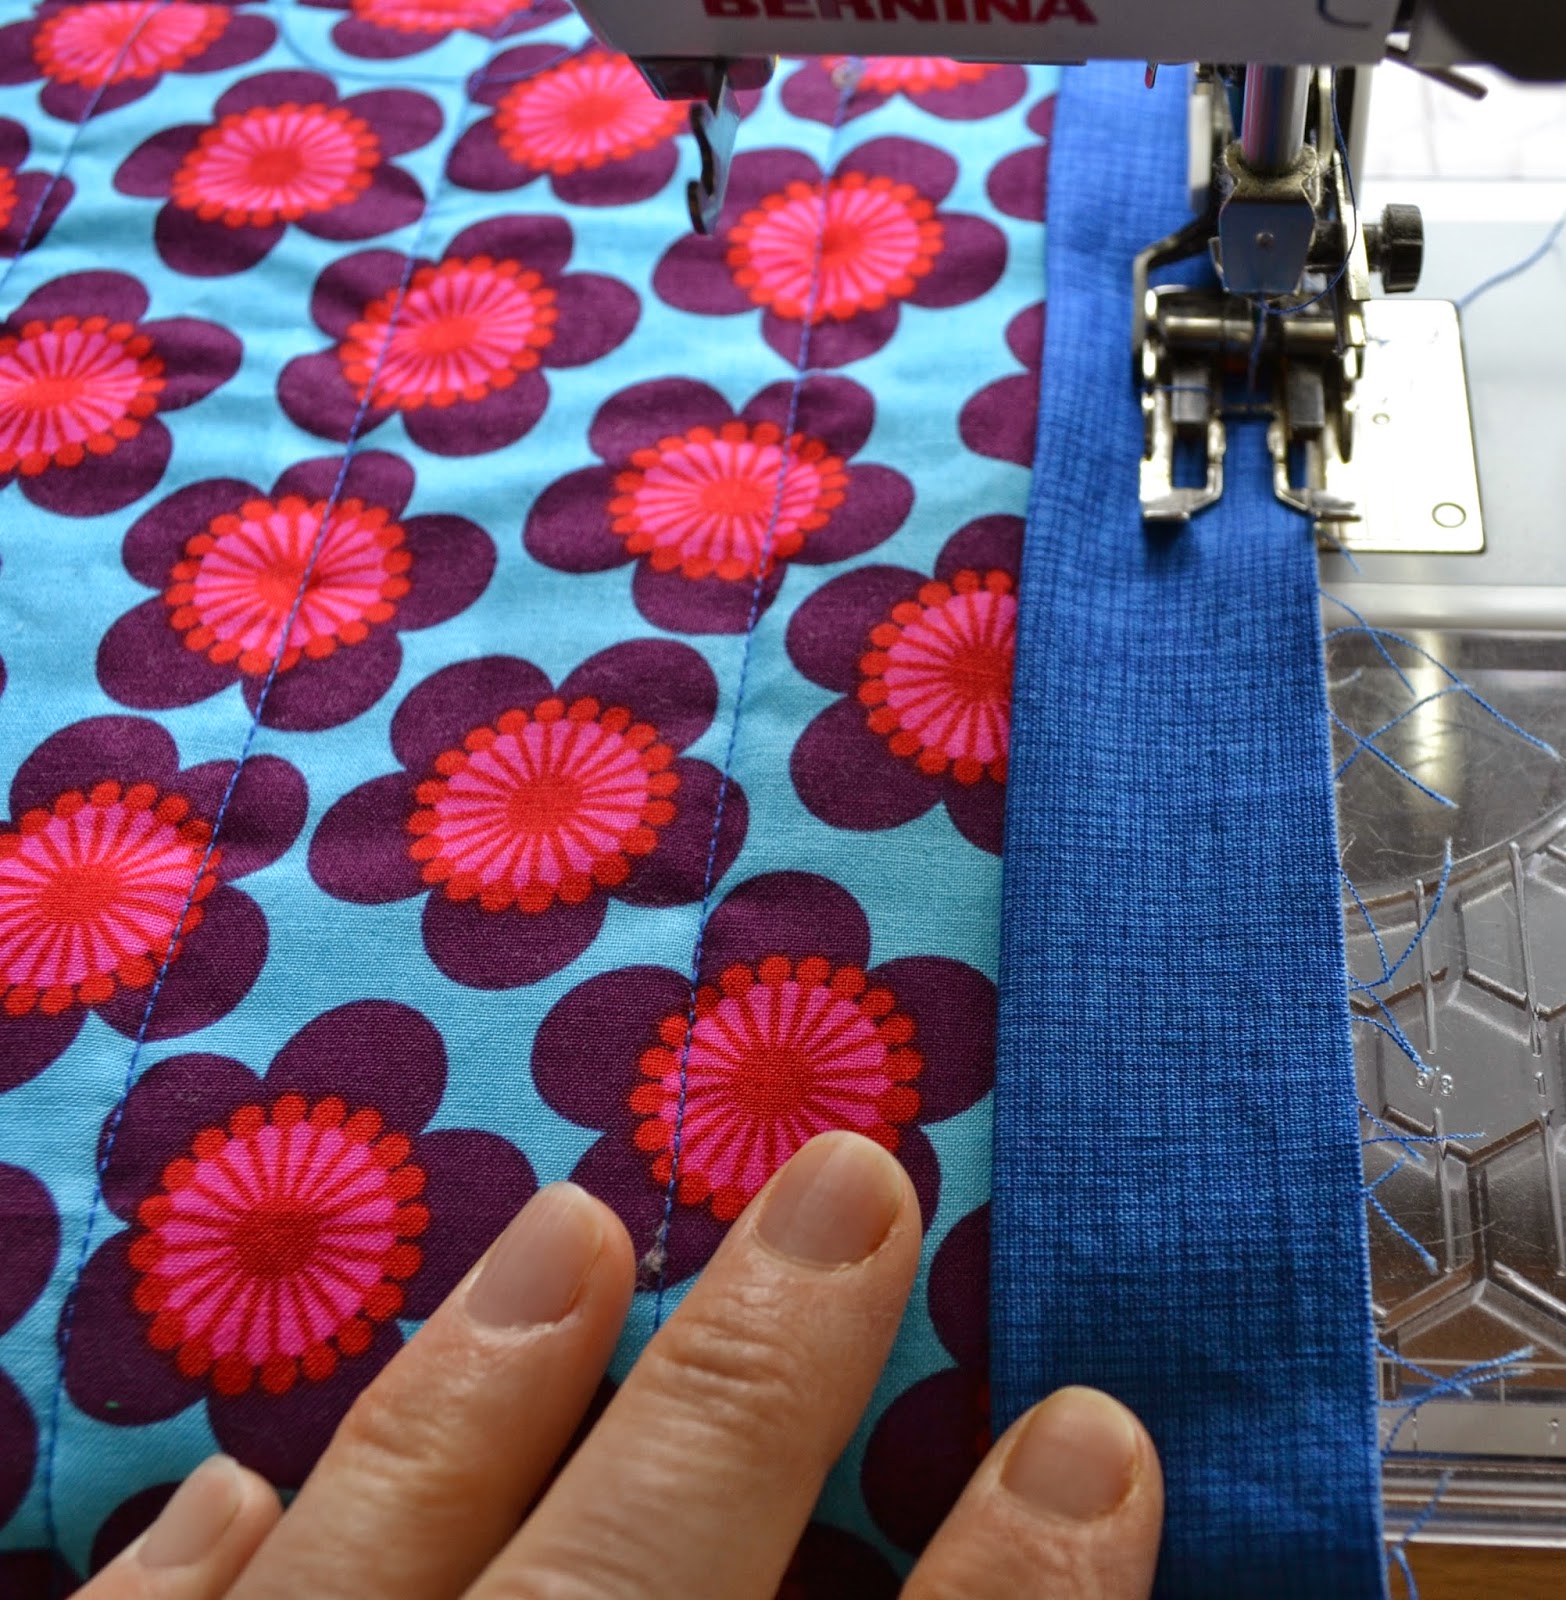
6.  After your two sides are cut,  sew your binding pieces together.  Having a large opening helps with this step.  Twelve inches is a bare minimum.  I generally leave a much larger opening between the two ends of the binding.


7.   Sew the binding onto the quilt.

8.  Press the binding away from the quilt.

 9.  Fold the binding over the edge of the quilt and press.  You can either machine or hand sew the binding to the quilt at this point.

Linking to:  Finished or Not Friday Can I Get A Whoop, Whoop, Show Off Saturday, Oh Scrap

Thursday, July 31, 2014

Raw Edge Applique


Raw edge appliqué describes the process of creating fabric pictures using fusible web. 

The secret to raw edge appliqué is this tool, the Applique Pressing Sheet.  For many years, I would arrange my web backed fabric pieces on their background and hold my breath and apply the iron.  Now I press my pattern pieces to this sheet and if I don't like the way they look, I can lift them up and put them somewhere else.  This sheet is also perfect if you are following a raw edge appliqué pattern, like the one I used to make this Forget-Me-Not block.
I used this Dana Verringia pattern, the Appliqué Pressing Sheet and an iron to put this block together.

I completed all of my layered pieces first.  I put them together in layers by first taking the paper back off the piece that would be on top and iron it to the piece it will be on.
Then I took the paper off of this piece and ironed it to the bottom piece.  I did this with all of the flower and leaf pieces.

Then I placed Applique Pressing Sheet on top of the pattern.  I placed the numbered pattern pieces on  top of the sheet and pressed them down with a hot iron.
You can see that these flowers are numbered 11, 12 and 13.  I put the flower labeled #11 first.
Then I added flower piece #12.  I had to move this flower over a little to cover the stems.  Sometimes you have to improvise.
Then I added flower piece #13.
When the piece was completely ironed to the Applique Pressing Sheet, I gently pulled it off the sheet.
You can see the pieces are glued together by the fusible web.
I then put the completed flower piece on the prepared background and ironed it in place.  
If you like to do raw edge appliqué and you don't have an Applique Pressing Sheet, you might want to think about getting one.
Linking to:

Thursday, May 1, 2014

Quilted Placemat Tutorial


For 6 Placemats You Will Need:
3/4 yards for the main part of the placemat (main fabric)
1/4 yard for the side of the placemat (side fabric)
1/8 yard for the accent piece (accent fabric)

1 yard for the back of the placemats
1 yard of batting
1 yard for the binding
I always wash my placemat fabric before making the mats to preshrink the fabric.  If you use cotton batting, wash that too.  If you use polyester batting, you don’t have to prewash it.

Placemats add character and charm to your table every day.  In addition they are great table protectors.  I like to have lots and lots of placemats for every occasion.  They are easy and fun to make.


Step 1
Cutting
From the 'main fabric,' cut 6 rectangles that measure 12-1/2" by 13"
From the 1/4 yard of 'side fabric,' cut 6 rectangles that measure 4-1/4" by 12-1/2".
From the 1/8 yard of 'accent fabric,' cut 6 rectangles that measure 2-1/2" by 12-1/2". (You can make these thinner if you want a thinner accent strip, for example 1" by 12-1/2" will make an accent that adds just a little bit of accent color.)

Step 2

Fold your accent pieces in half, with right sides together.  Press.  Place on the right side of each of the 4” X 12-1/2” rectangles as shown.  Line up the raw edges.  Stitch in place.


You can chain piece this step.

Step 3

Lay this finished pieces on top of the placemat main fabric (12-1/2” by 13”) with right sides together, matching the edges.  Stitch together as shown.


 Again, you can chain piece these.

Press the seam toward the side fabric.

Step 4  
Make a ‘fabric sandwich’ with your backing fabric, your batting and your placemat.

Step 5
Quilt your placemat anyway you desire.  I use my walking stitch and make straight lines. To quilt your placemats like I did, first 'stitch in the ditch' along the seam that connects the accent fabric to the side fabric.  Second, find the middle of the matt and mark the line.

Next, quilt a line using your walking foot. With your seam guide attachment, Use previously quilted line to guide your next line.

Step 6
Trim your placemats, using your rotary cutter and ruler.

Step 7
Bind your placemats using the tutorial on my Run’n Stitch Blog HERE

These pictures provide a little reminder if you don't need a detailed tutorial.  The key to making these placemats is !!!SEW THE BINDING TO THE WRONG SIDE OF THE PLACEMAT!!!


Step 8
Finishing
Press your binding away from the back of your placemat.
 Pin your binding to the other side of the placemat.  Pin it just a smidge over the stitch line.

Fold your corners so they have a nice point.


 Pin in place at the corners.
 On my sewing machine, I move my needle to the right a couple clicks so I can line the center line of my sewing foot with the fold of the fabric and the needle sews just to the right of center.  This way I can sew a straight line and catch the binding fabric on the other side of the placemat.

The front
The back


Find fabrics for this project in my Run 'n Stitch Shop HERE