For 6 Placemats You Will Need:
3/4 yards for the main part of the placemat (main fabric)
1/4 yard for the side of the placemat (side fabric)
1/8 yard for the accent piece (accent fabric)
1 yard for the back of the placemats
1 yard of batting
1 yard for the binding
I always wash my placemat fabric before making the mats to preshrink the fabric. If you use cotton batting, wash that too. If you use polyester batting, you don’t have to prewash it.
Placemats add character and charm to your table every day. In addition they are great table protectors. I like to have lots and lots of placemats for every occasion. They are easy and fun to make.
Placemats add character and charm to your table every day. In addition they are great table protectors. I like to have lots and lots of placemats for every occasion. They are easy and fun to make.
Step 1
Cutting
From the 'main fabric,' cut 6 rectangles that measure 12-1/2" by 13"
From the 1/4 yard of 'side fabric,' cut 6 rectangles that measure 4-1/4" by 12-1/2".
From the 1/8 yard of 'accent fabric,' cut 6 rectangles that measure 2-1/2" by 12-1/2". (You can make these thinner if you want a thinner accent strip, for example 1" by 12-1/2" will make an accent that adds just a little bit of accent color.)
Step 2
Fold your accent pieces in half, with right sides together. Press. Place on the right side of each of the 4” X 12-1/2” rectangles as shown. Line up the raw edges. Stitch in place.
Step 3
Lay this finished pieces on top of the placemat main fabric (12-1/2” by 13”) with right sides together, matching the edges. Stitch together as shown.
Step 4
Make a ‘fabric sandwich’ with your backing fabric, your batting and your placemat.
Step 5
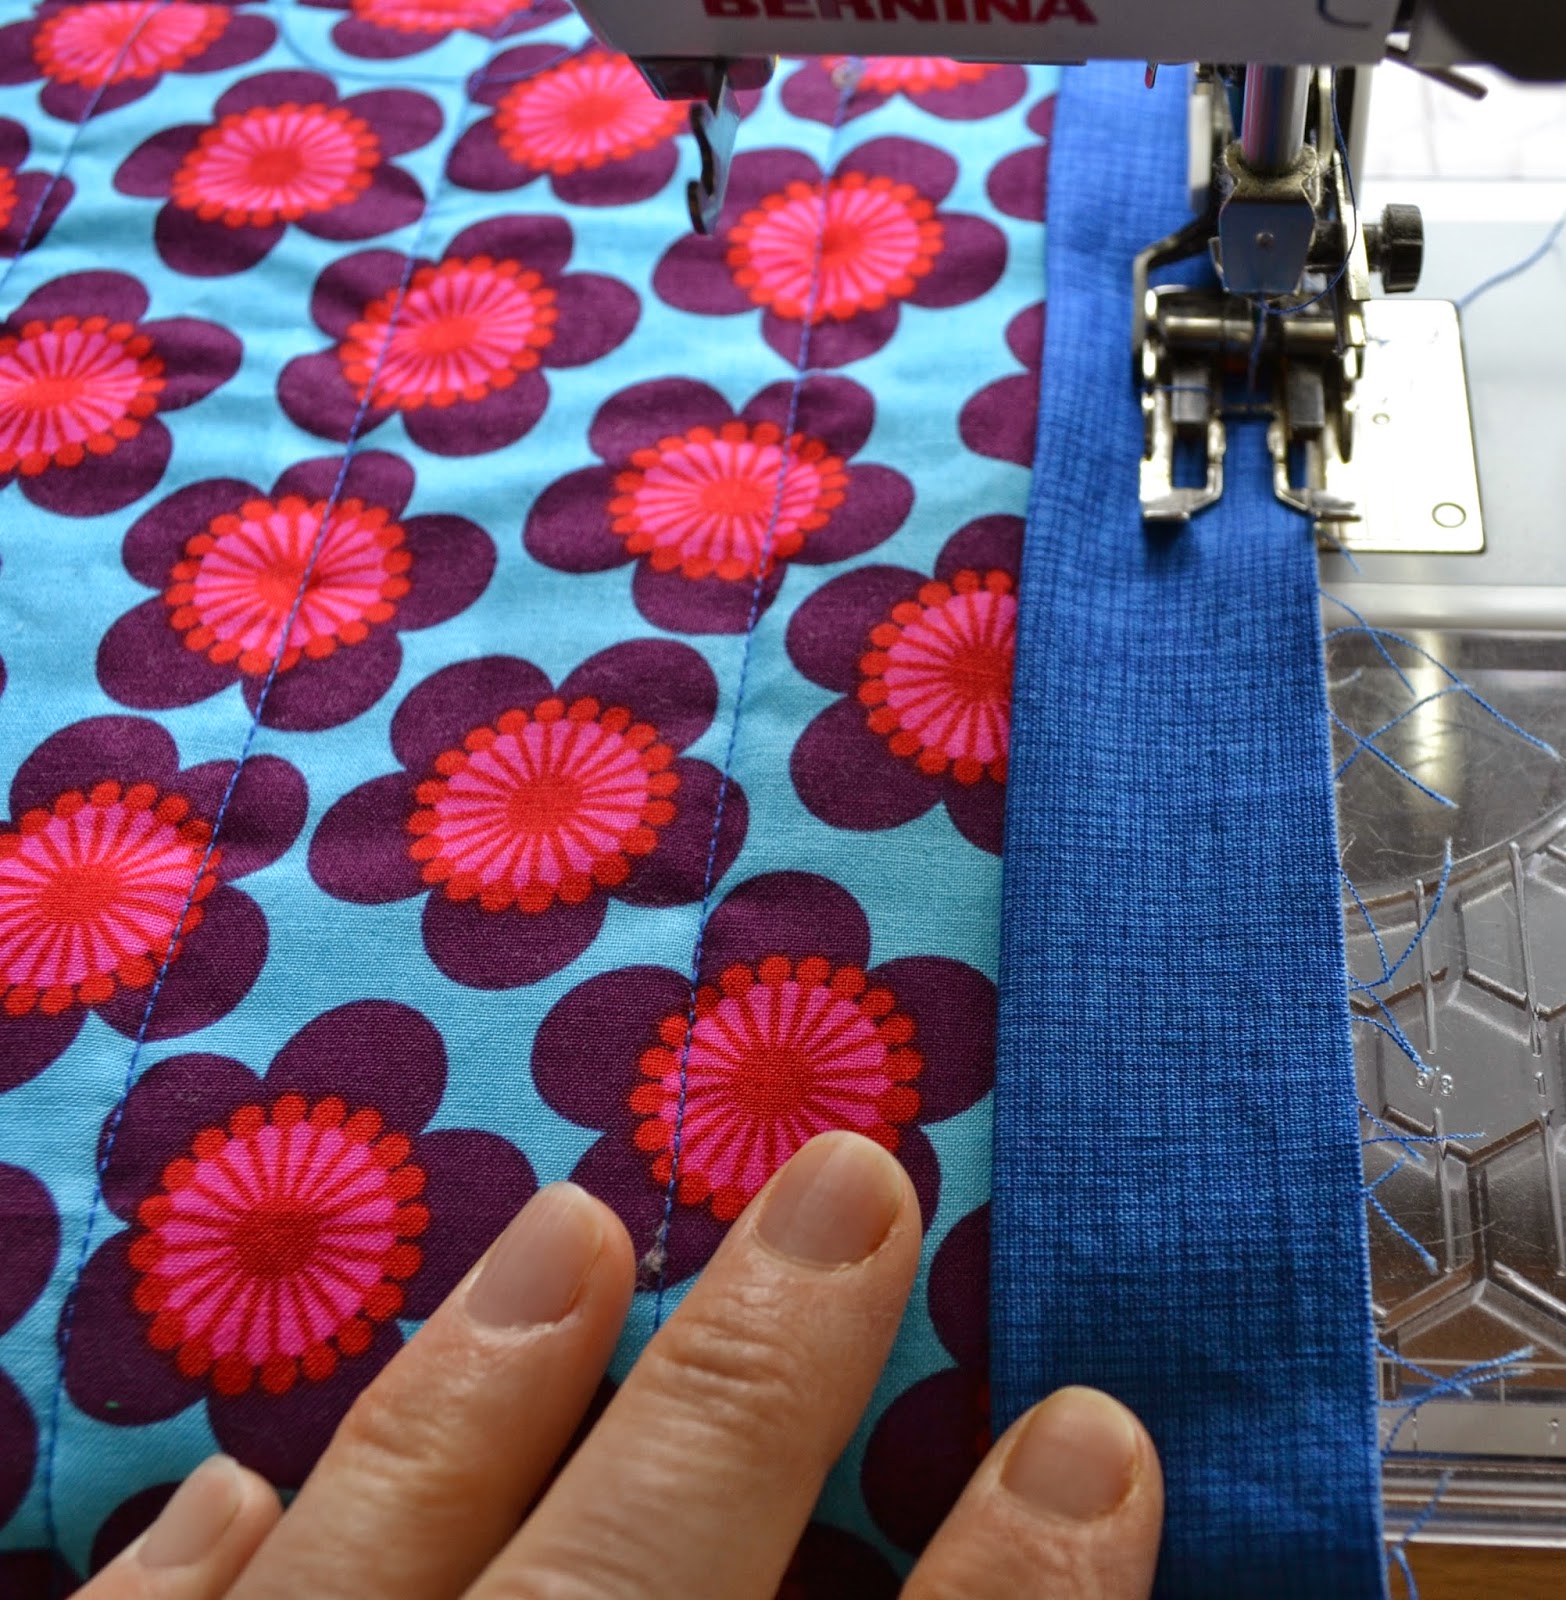
Quilt your placemat anyway you desire. I use my walking stitch and make straight lines. To quilt your placemats like I did, first 'stitch in the ditch' along the seam that connects the accent fabric to the side fabric. Second, find the middle of the matt and mark the line.
Next, quilt a line using your walking foot. With your seam guide attachment, Use previously quilted line to guide your next line.
Step 6
Trim your placemats, using your rotary cutter and ruler.
Step 7
Bind your placemats using the tutorial on my Run’n Stitch Blog HERE
These pictures provide a little reminder if you don't need a detailed tutorial. The key to making these placemats is !!!SEW THE BINDING TO THE WRONG SIDE OF THE PLACEMAT!!!
These pictures provide a little reminder if you don't need a detailed tutorial. The key to making these placemats is !!!SEW THE BINDING TO THE WRONG SIDE OF THE PLACEMAT!!!
Step 8
Finishing
Press your binding away from the back of your placemat.
 Pin your binding to the other side of the placemat. Pin it just a smidge over the stitch line.
On my sewing machine, I move my needle to the right a couple clicks so I can line the center line of my sewing foot with the fold of the fabric and the needle sews just to the right of center. This way I can sew a straight line and catch the binding fabric on the other side of the placemat.
The front
The back
Find fabrics for this project in my Run 'n Stitch Shop HERE
Linking To:
Create It Thursday Catch a Glimpse Thursday #180 Krafty Inspiration Thursday Party #39 Simply Create Thursdays #57 Best of the Weekend Week #51 Strut Your Stuff Saturday Link Party-Week 145 Show and Tell Saturdays TGIF Linky Party #4 Get Schooled Saturday Saturday Sparks Link Party 61 SewJo Saturdays Think Pink Sunday #162 Share Your Creativity
Create It Thursday Catch a Glimpse Thursday #180 Krafty Inspiration Thursday Party #39 Simply Create Thursdays #57 Best of the Weekend Week #51 Strut Your Stuff Saturday Link Party-Week 145 Show and Tell Saturdays TGIF Linky Party #4 Get Schooled Saturday Saturday Sparks Link Party 61 SewJo Saturdays Think Pink Sunday #162 Share Your Creativity


This is almost easy enough for me :) They look beautiful. Thanks for the inspiration.
ReplyDeleteThank you Kaz! They are really fun and easy to make.
DeleteThese look so bright and pretty on your table and what a great tutorial! :)
ReplyDeleteThank you Deb!!
DeleteLove the fun fabrics you used for your placemats. I'm hoping to have some sewing time when school is out. (18 more days!)
ReplyDeleteWhew, 18 more days.... it'll go fast. Make a point to do something you love when you are done. Thank you for your kind comment.
DeleteAwesome and cute! Gonna give these a try, though mine won't look as good. Seems like a fun beginner project.
ReplyDelete