Monday, May 12, 2014

A Christmas Project


Christmas is always a crazy busy time so I like to get started early.  I like to do a little throughout the year so I am not totally stressed out when the month of December rolls around.  We have had unseasonably warm weather this Spring. The weather was perfect for sitting out on the deck, listening to a good book and tracing fusible for a quilt from the book, Christmas Is Coming by Cheryl Almgren Taylor.


I made this quilt top last year using red, white and gold.  I sold the top right away and planned to make another one but time got away from me.  You know how that is.


So, this year I plan to make another red, white and gold quilt when my new Christmas fabrics arrive in my Christmas Craft Supply Shop, Christmas Jul.  I pulled some of the last blue holiday fabrics from the Christmas Jul shelf to make a blue and silver quilt top.  Michael Miller's Fairy Frost fabrics add a little bling to holiday projects.  


 I absolutely LOVE fusible appliqué projects.  They go togethers so quickly and they look so lovely.  I still have to sew around all of the appliqué pieces, sew the blocks together and add the border.  I will post a picture of the finished project....soon, I hope.

Linking to:
The Sunday Showcase Party #244  A Round Tuit 205 Inspiration Monday Creative Corner Hop Anything Goes Monday #63 Monday FUNday Link Party Much Ado About Monday #59 Sweet Sharing Monday Share It One More Time It's a Bouquet of Talent Party You're Gonna Love It Tuesday Show Me What You Got Linky #118 Sew Cute Tuesday Anti Procrastination Tuesday Handmade Tuesdays Take A Look Tuesday The Inspiration Board: Creative Party154 Tuesday Archives #11 WIP Wednesday Whatever Goes Wednesday #222 We Did It Wednesday Wow Me Wednesday #145 Lovely Ladies Linky #35 A Little Bird Told Me Link Party #91 From Dream to Reality #117


Monday, May 5, 2014

Spring Time In Alaska


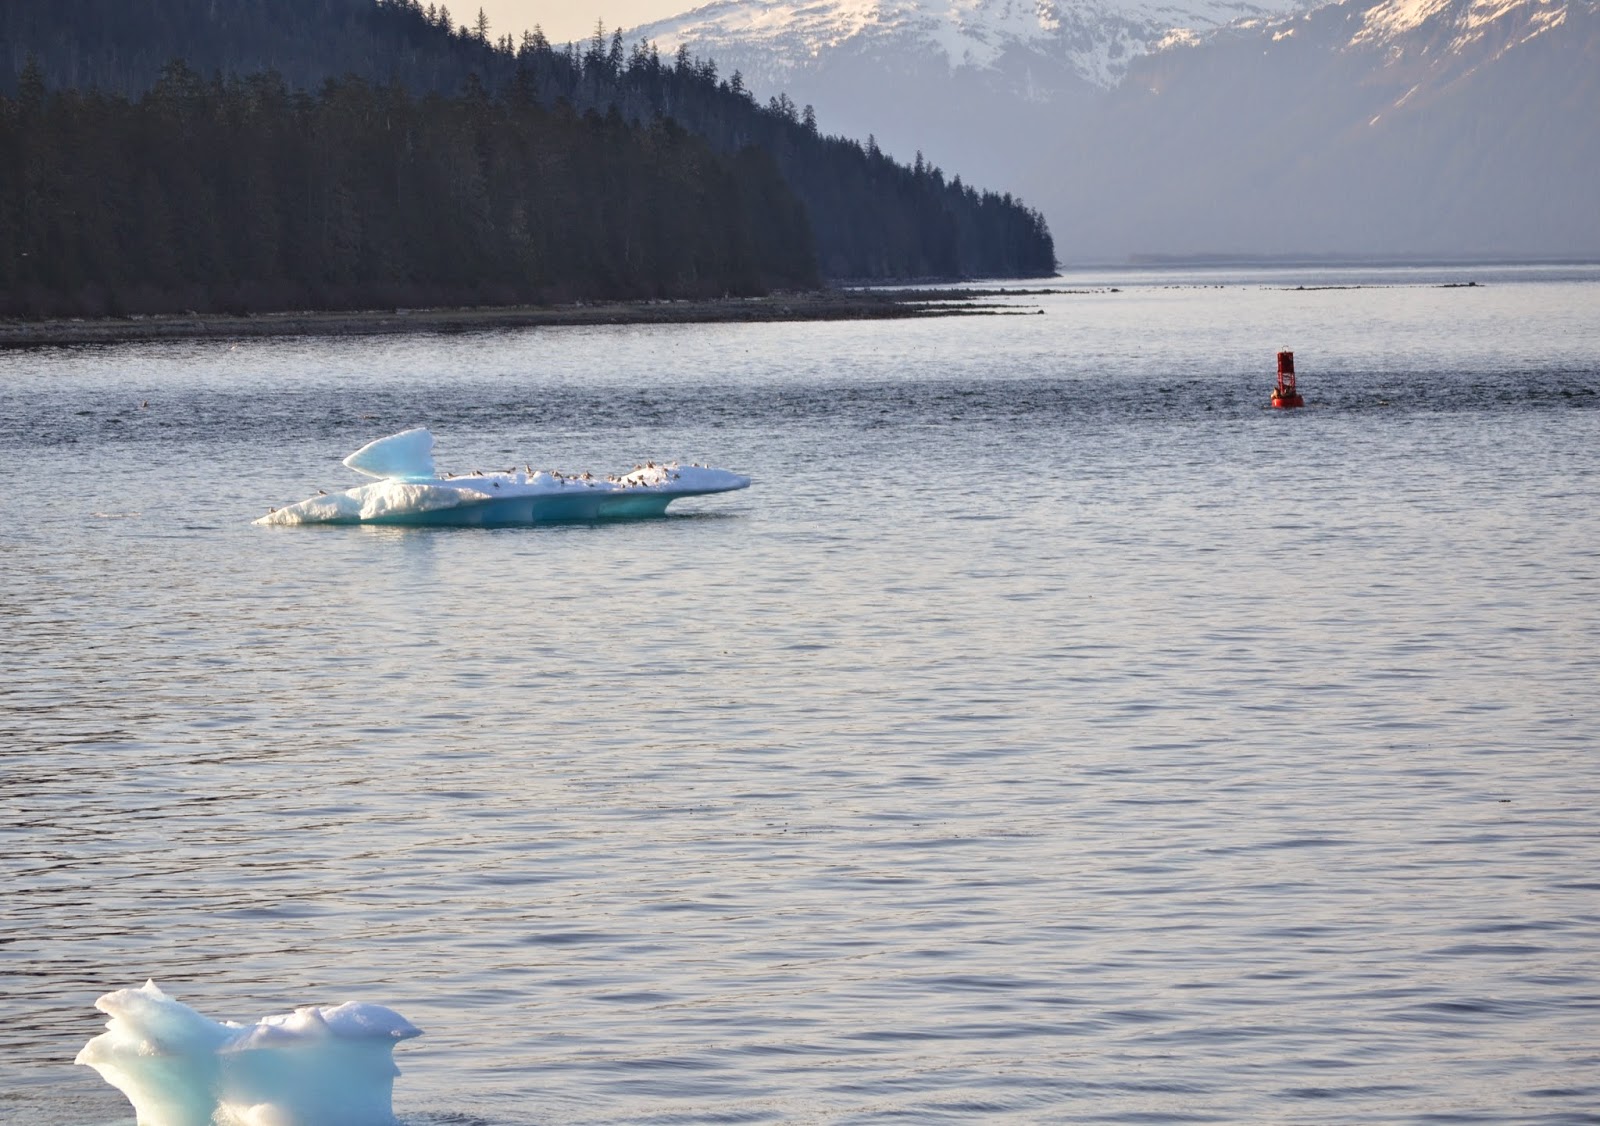
This time of year I think of that Johnny Horton song, "When It's Spring Time In Alaska It's 40 Below."  Well it's not 40 below but in some places in Alaska it was 31 degrees F. on May 1st.  Where I live in Southeast Alaska, the weather is mild but our Winters are long and our Springs are welcome.  We are on the flight path for many migratory birds.  From the Sand Hill Cranes, high in the sky to the Arctic Turns on the water, there are birds everywhere this time of year.  This year on May 1st, a combination of wind and currents brought icebergs from the LeConte Glacier right to our door.  The Leconte Glacier is the southernmost tidewater glacier in the Northern Hemisphere.  This glacier is located near Peterburg, Alaska. Petersburg is located here because it was settled by Norwegian fishermen back at the turn of the 20th Century so fishermen could use ice from the Leconte Glacier to keep their fish fresh.  All of the white dots on the water are floating icebergs, coming out of Leconte Bay.


This behemoth floated directly in front of my house.  You have to remember that most of the iceberg is underwater.  What you see on the surface is just a little bit of the entire burg.  This iceberg dwarfed this fishing boat.

My parents taught me to never climb on icebergs because they are so unpredictable.  They can roll or split at anytime.  These guys didn't get that message.  This iceberg does seem safe because it is so large and flat.  

This is the same iceberg in the late evening.  It had lodged on the rocks at the bottom of Fredrick Sound.  As the tide went out, you could see just how large this thing was.  That little top piece was there, and then it was gone.  I turned my head to look at something and looked back and it had fallen into the water.  


This is the iceberg the following morning.  You can see it is very close to the shipping lane.  The water there is pretty deep so you know this iceberg had a lot below the water.

This iceberg floated up to the beach right in front of our house.  It caught on the rocks as the tide was going out and there it stood at low tide.  

The hole in the ice made a sweet little frame for Devils Thumb.  Just beyond Devils Thumb is Canada.  


The following morning, this berg was being covered by the water again.  It looked like the tail of a breaching humpback whale.  These icebergs make a nice little resting place for the seagulls.


Linking To:


Saturday, May 3, 2014

Sweet Deal Sunday


It's Sweet Deal Sunday

Fat Quarter Fabric Bundle $3.50!!! REALLY only $3.50 for three fat quarters in my Etsy shop, Runnstitch.  Click HERE  to take advantage of this awesome deal.  On Sunday May 4 and Monday May 5, you can get these fabrics at a reduced price.  

This adorable Riley Blake baby boy fabric is perfect for making bibs, banners, pillowcases and quilts, or anything for a little guy.  Stop by my shop.  Add this sweet fabric to your stash!

Thursday, May 1, 2014

Quilted Placemat Tutorial


For 6 Placemats You Will Need:
3/4 yards for the main part of the placemat (main fabric)
1/4 yard for the side of the placemat (side fabric)
1/8 yard for the accent piece (accent fabric)

1 yard for the back of the placemats
1 yard of batting
1 yard for the binding
I always wash my placemat fabric before making the mats to preshrink the fabric.  If you use cotton batting, wash that too.  If you use polyester batting, you don’t have to prewash it.

Placemats add character and charm to your table every day.  In addition they are great table protectors.  I like to have lots and lots of placemats for every occasion.  They are easy and fun to make.


Step 1
Cutting
From the 'main fabric,' cut 6 rectangles that measure 12-1/2" by 13"
From the 1/4 yard of 'side fabric,' cut 6 rectangles that measure 4-1/4" by 12-1/2".
From the 1/8 yard of 'accent fabric,' cut 6 rectangles that measure 2-1/2" by 12-1/2". (You can make these thinner if you want a thinner accent strip, for example 1" by 12-1/2" will make an accent that adds just a little bit of accent color.)

Step 2

Fold your accent pieces in half, with right sides together.  Press.  Place on the right side of each of the 4” X 12-1/2” rectangles as shown.  Line up the raw edges.  Stitch in place.


You can chain piece this step.

Step 3

Lay this finished pieces on top of the placemat main fabric (12-1/2” by 13”) with right sides together, matching the edges.  Stitch together as shown.


 Again, you can chain piece these.

Press the seam toward the side fabric.

Step 4  
Make a ‘fabric sandwich’ with your backing fabric, your batting and your placemat.

Step 5
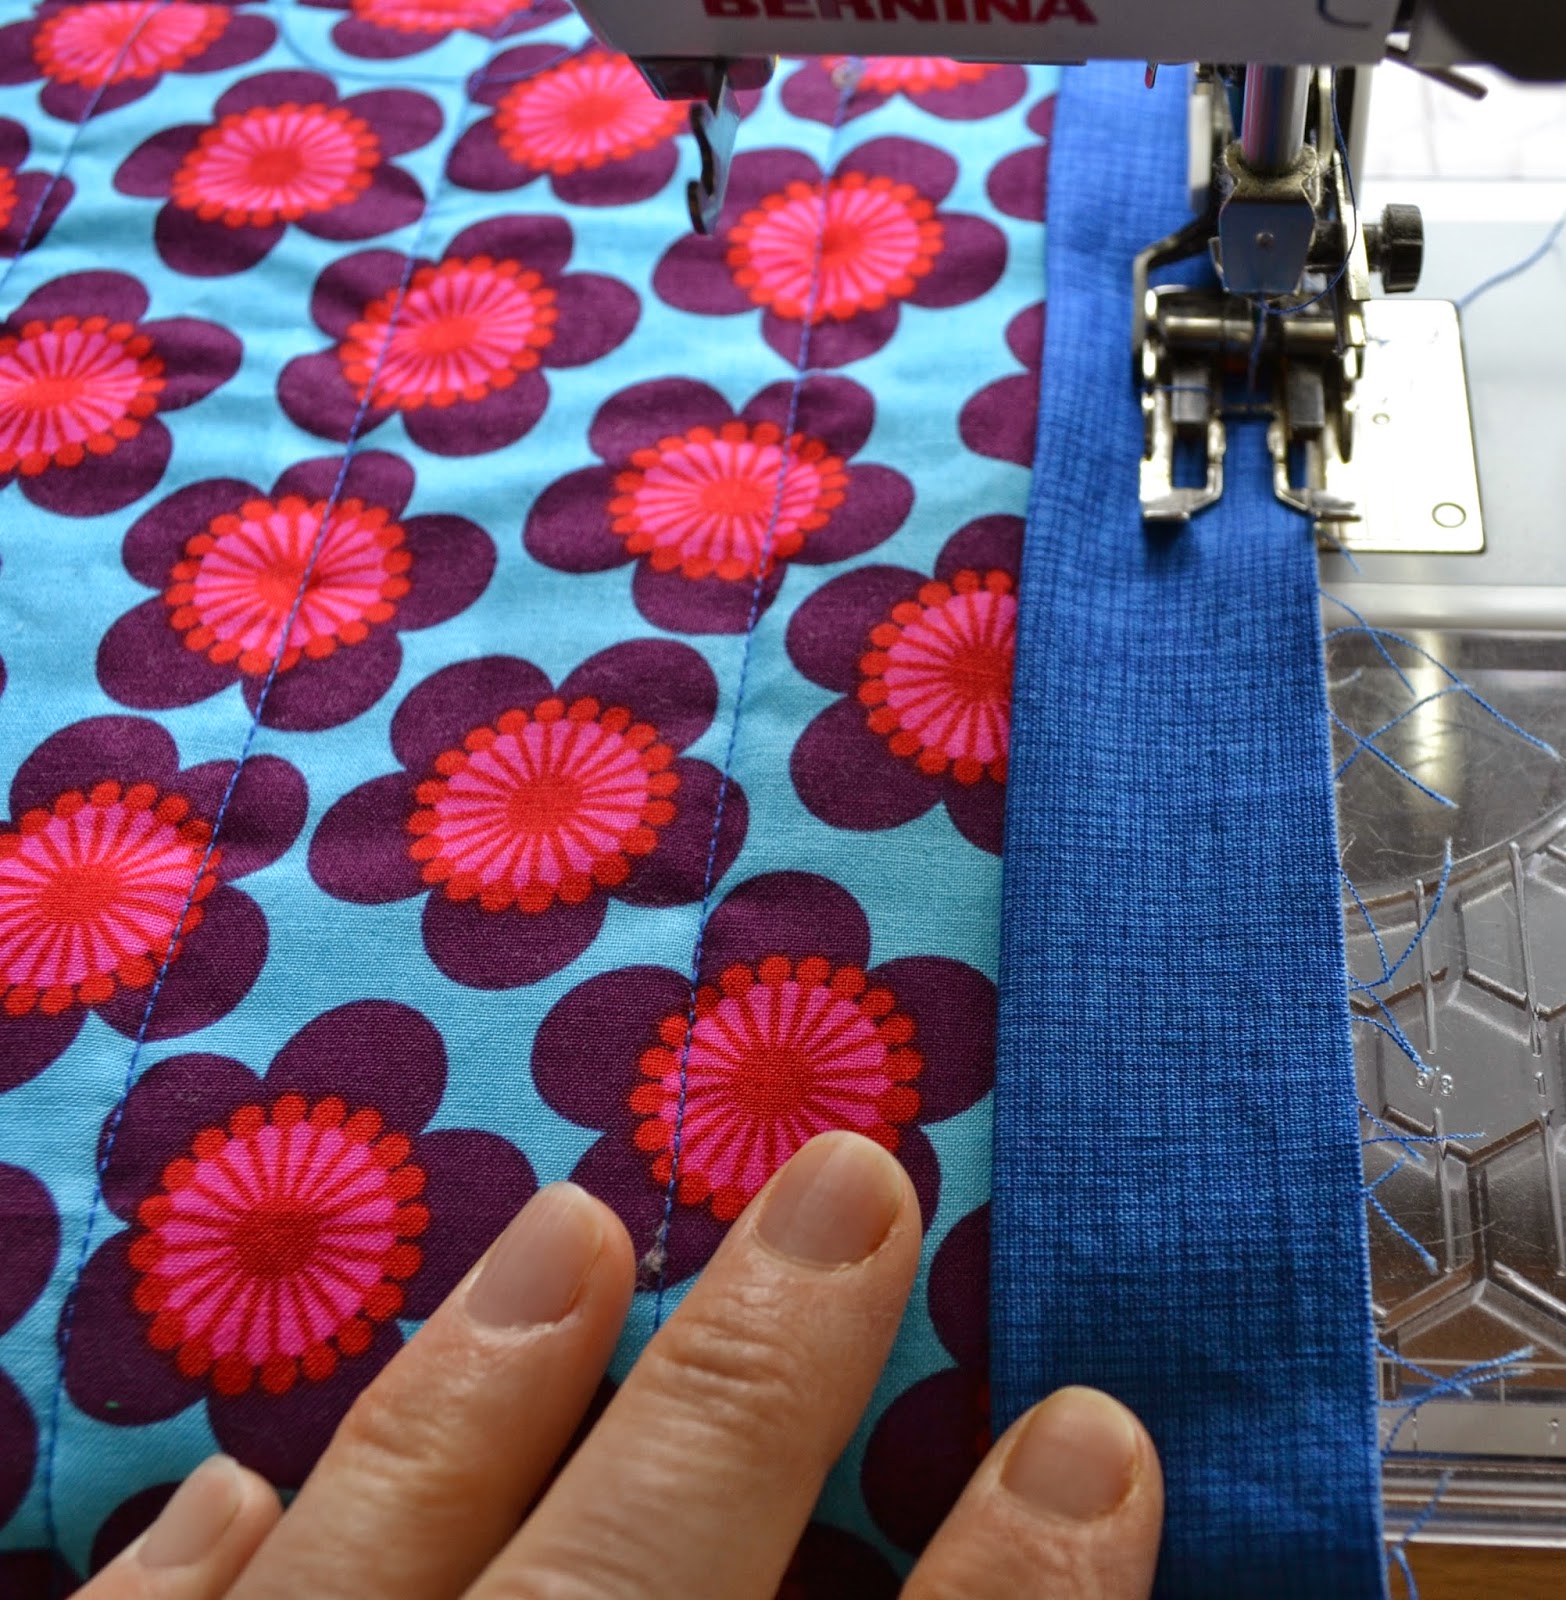
Quilt your placemat anyway you desire.  I use my walking stitch and make straight lines. To quilt your placemats like I did, first 'stitch in the ditch' along the seam that connects the accent fabric to the side fabric.  Second, find the middle of the matt and mark the line.

Next, quilt a line using your walking foot. With your seam guide attachment, Use previously quilted line to guide your next line.

Step 6
Trim your placemats, using your rotary cutter and ruler.

Step 7
Bind your placemats using the tutorial on my Run’n Stitch Blog HERE

These pictures provide a little reminder if you don't need a detailed tutorial.  The key to making these placemats is !!!SEW THE BINDING TO THE WRONG SIDE OF THE PLACEMAT!!!


Step 8
Finishing
Press your binding away from the back of your placemat.
 Pin your binding to the other side of the placemat.  Pin it just a smidge over the stitch line.

Fold your corners so they have a nice point.


 Pin in place at the corners.
 On my sewing machine, I move my needle to the right a couple clicks so I can line the center line of my sewing foot with the fold of the fabric and the needle sews just to the right of center.  This way I can sew a straight line and catch the binding fabric on the other side of the placemat.

The front
The back


Find fabrics for this project in my Run 'n Stitch Shop HERE