Tuesday, March 19, 2019

Step 1: Make a Decision


Make a decision about what you will be doing in your space.  The 6 things I do in my sewing space are:
  1. Fabric Shop
  2. Teach Sewing Classes-mainly to school age students
  3. Sew Aprons
  4. Piece Quilts
  5. Quilt Quilts
  6. Embroidery
You will also need to make a decision about what you want your space to look like. You may love lots of inspirational items around you, or you may like to have ever changing displays for inspiration.  You may not be as concerned about specific areas for items, just easy access. 

I really like a clean slate with easy to find supplies because frankly, the little gray cells aren’t what they used to be.  I hate spending valuable time searching for that one thing I need to finish my project, only to find it two days later upstairs in the kitchen.  In addition, when I sew fabric flies.  It will be easier to keep my space tidy if there is a place for everything.

The first step is to identify your needs and create your goals. 

For example, these are my goals.

1. I would like to designate a space for each of my activities so my supplies are easy to find. 

2.  I want my class materials stored so they are easy to set up.

3.  I want to have room to create my projects, with easy access to everything I need.

4.  I want my shop to be a bright and fun, well organized place to visit.

These are some of the many things I will need to fix.


In the sewing room


In the shop

In the middle room


This first step is critical.  If you want your space to reflect the creative you, a vision is the best starting point.

Find All Of The Posts I My 6 Step Process HERE


Monday, March 18, 2019

Organization Your Creative Space In 6 Steps

How many times have you spent the entire time you planned to create looking for a necessary item?  How many times have you purchased something to use later and put it somewhere and found it after the inspiration has long passed.  How many times have you purchased the perfect item for your next project and put it somewhere, forgotten about it and when you found it again wondered what it was for?  I have done all of these things and more.  

As I have accumulated interests and skills, these things happen more and more often.  In December I purchased 2 new machines and their accessories.  I wrote about it Here and Here.  In January I was away from home for two months and came back to a bunch of stuff I had shoved here and there and had forgotten about.  I spent the first two weeks in March looking high and low for things I needed to do projects. Things like seam rippers, my good scissors, extra pins, you know, important things. I decided enough was enough.  It’ was time to knuckle down and organize my space.  My goal was to be able to find things and to have a place to put new items as I acquired them AND never have to spend precious time looking for things.

 I developed a plan for organizing my stuff that I’d like to share.  I went back to it often as I worked my way through the organization process.  This plan includes these 6 steps.  I will do a post for each step this week.  I hope this helps.

  1. Make a decision about what activities you will do in your sewing or craft room. 
  2. Take an inventory of what you have.  
  3. Identify what items you want to have available;  the items you need every day, things you don’t want to pull out of storage every time you want to use them.
  4. Identify storage spaces, decide if these are appropriate to your storage needs.  
  5. Make a decision about which items to store in each of the storage areas.
  6. Arrange your space according to the plan you have developed and evaluate your decisions.

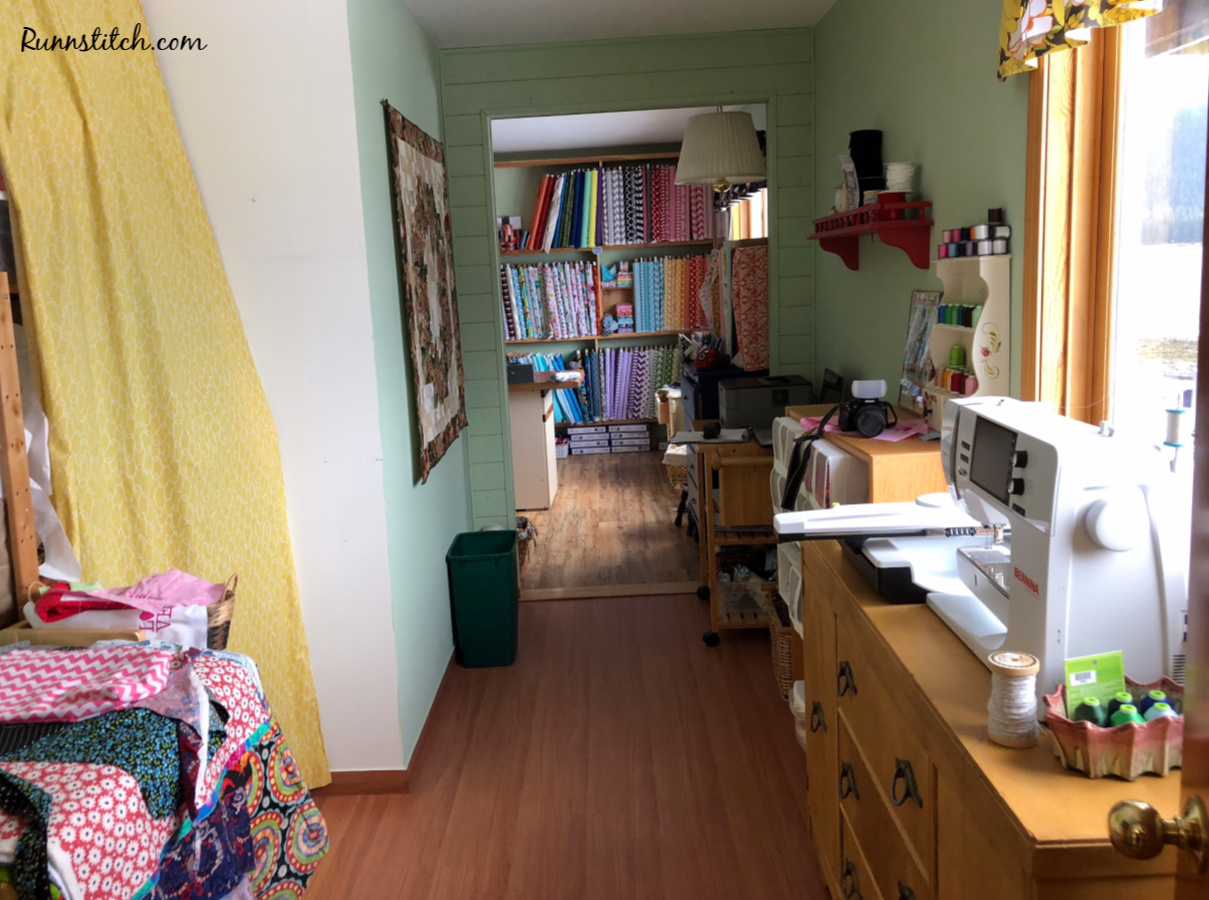
This is my space.  Don't let the fact that it looks tidy fool you.  Behind every curtain and closet door and in every drawer is a mini disaster.  

Sewing, quilting and class space.

 Embroidery and storage space.

Shop


Find All Of The Posts I My 6 Step Process HERE

Sunday, March 17, 2019

Sewing with Kids

I love it when I am able to teach sewing classes to kids.  Last week was Spring Break and kids had some spare time on their hands so I offered a pillowcase making class.  My granddaughter Jill loves to help with my sewing classes and she is a great helper.  We spent one afternoon together running through my lesson plan.  We talked about picking out fabrics, reviewed threading the machine and bobbin and sewing a 1/4 inch seam.  By the end of the afternoon she had made a pillow case and was ready for the class the next day.


The next day three girls took the class and we had a lot of fun together.  Jill was an amazing assistant.  She suggested what the girls might think about when picking out fabric, gave pointers to help with pinning, and using the machine, helped to troubleshoot if there was a problem.  It sure helps to have a good assistant when young people are learning new skills.


In the end, we had a really fun time, and Anna, Kaia, Arial and Jill felt good about their project.

Friday, March 15, 2019

Lucious Lipstick Quilt Pattern

My 4th 10 inch square pattern is finished.  Find the original post HERE.


This quilt is made with the Lipstick 10-inch square bundle by Kaffe Fassett and the Bird of Paradise 10-inch square Half Stack from Kona Fabrics.  


This is rendition of the traditional pattern called Double X.  This is the pattern I used to make the quilt.  You will have 3/4 of your second scrappy square left over when you cut this pattern, an I am developing a pattern that will use the leftover fabric.  Stay tuned.


Linking to: Show Off Saturday,  Oh Scrap, Monday Making, Design Wall Monday, Moving It Forward Monday,

Thursday, March 14, 2019

Mission Quilts

Women with the Petersburg Lutheran Church spend two days a month visiting and sewing together mission quilts.  The dimensions of these quilts have to 60 inches by 80 inches and that's it.  The designs of the quilt are up to the makers.  Now that I'm retired, I get to do all kinds of fun things during the day.  I look forward to many more days of cutting and sewing quilts together with this group.  Everyone has a job.  The cutters at this get together were

Sue

Marcy and Sally

and Ginger.

Gail is a cutter too and Dell is sewing binding on the quilt and as you can see, fellowship is the order of the day.


Jackie got to sew the binding on this great puffy quilt.


Marilyn spent the day sewing this green top together.


Another example of how quilting brings people together.  Kris and Heidi make the quilt sandwiches.  This group has been meeting regularly since the mid '60's.  It started in our local Presbyterian Church and later moved to the Lutheran Church when the Head Start program took over the space at the Presbyterian Church.


Donna's job is to the the quilts with yarn.


Sally's yummy quiche and Heidi's zucchini cake gave us the right amount of energy to get through the afternoon.  


There's nothing like a day of quilting with incredible women.

Linking to:  


Wednesday, March 13, 2019

Cross Back Apron

Isn't this cross back apron adorable.  I made this with a white polka dot on black fabric on one side and a white feather on black on the other.  This reversible apron is really comfortable to wear.  The pocket is very large too.  This apron is made to order in my apron shop.


Linking to:  Artsy Fartsy Linky, Friday Favorites, Flaunt it Friday, New Bloggers Links-Up

Tuesday, March 12, 2019

Organize With Ikea Shoe Boxes

Isn't organization an ongoing project in your sewing and crafting space.  On a whim, I purchased a couple of packages of shoe boxes from Ikea, thinking I could use them to organize something.  I hate to have too many unfinished projects because they tend to get lost in the chaos.  I pulled out my UFO's and put them in these storage containers, front and center, so I don't forget them.  The speak to me every day, "finish me, finish me"   


Linking to:  Friday Favorites,