Sunday, April 13, 2014

Easter Bib Tutorial


Here's the final addition to baby Audrey's Easter Basket.  I used the fabric left over from the Easter Basket and the Easter banner projects to make this little bib.  I will show you how I did it in this little tutorial.

These were my leftover pieces of banner fabric from the two banners.
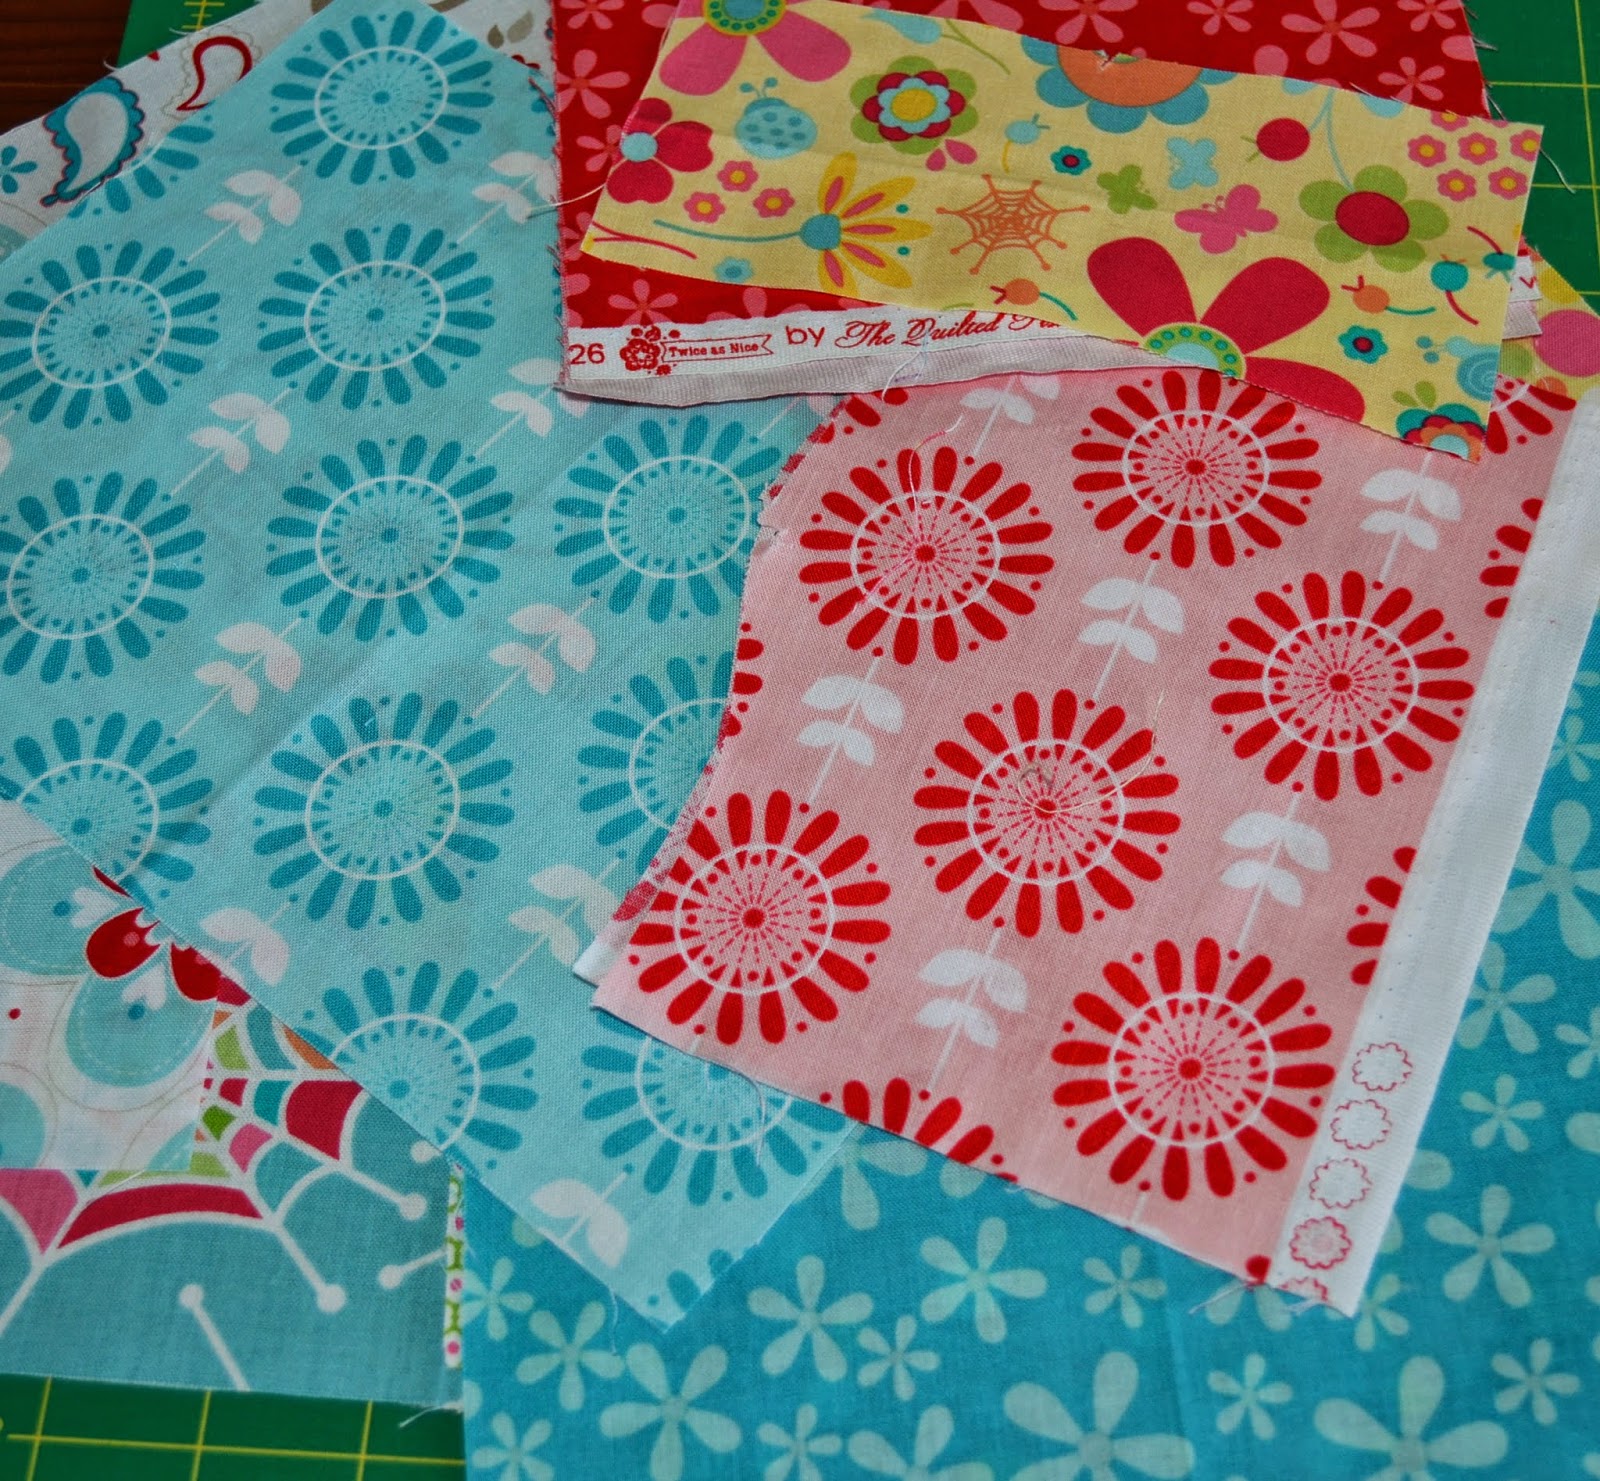

I cut them all into 2" strips and placed the strips I used in Audrey's banner in one pile and the strips that I used for Jills banner in a different pile.


I sewed Audrey's strips together end to end.  For more information about how to make a piece of fabric out of strips please see the tutorial HERE.


I used this pattern from the Little Quilt Company to make the bib. There are many bib patterns to choose from.  I liked this because it has little patterns for all of the months of the year.


Trace the bib pattern and pin the pattern to the fabric.  I folded the pattern in half and lined the fold up with the center strip to make sure the pattern was set on the grain.


 Take the pattern off and here is your little bib.  Isn't it cute.  This would make a cute bib as is, but I wanted to add the little Easter Bunny to the bib.  It is an Easter bib after all.


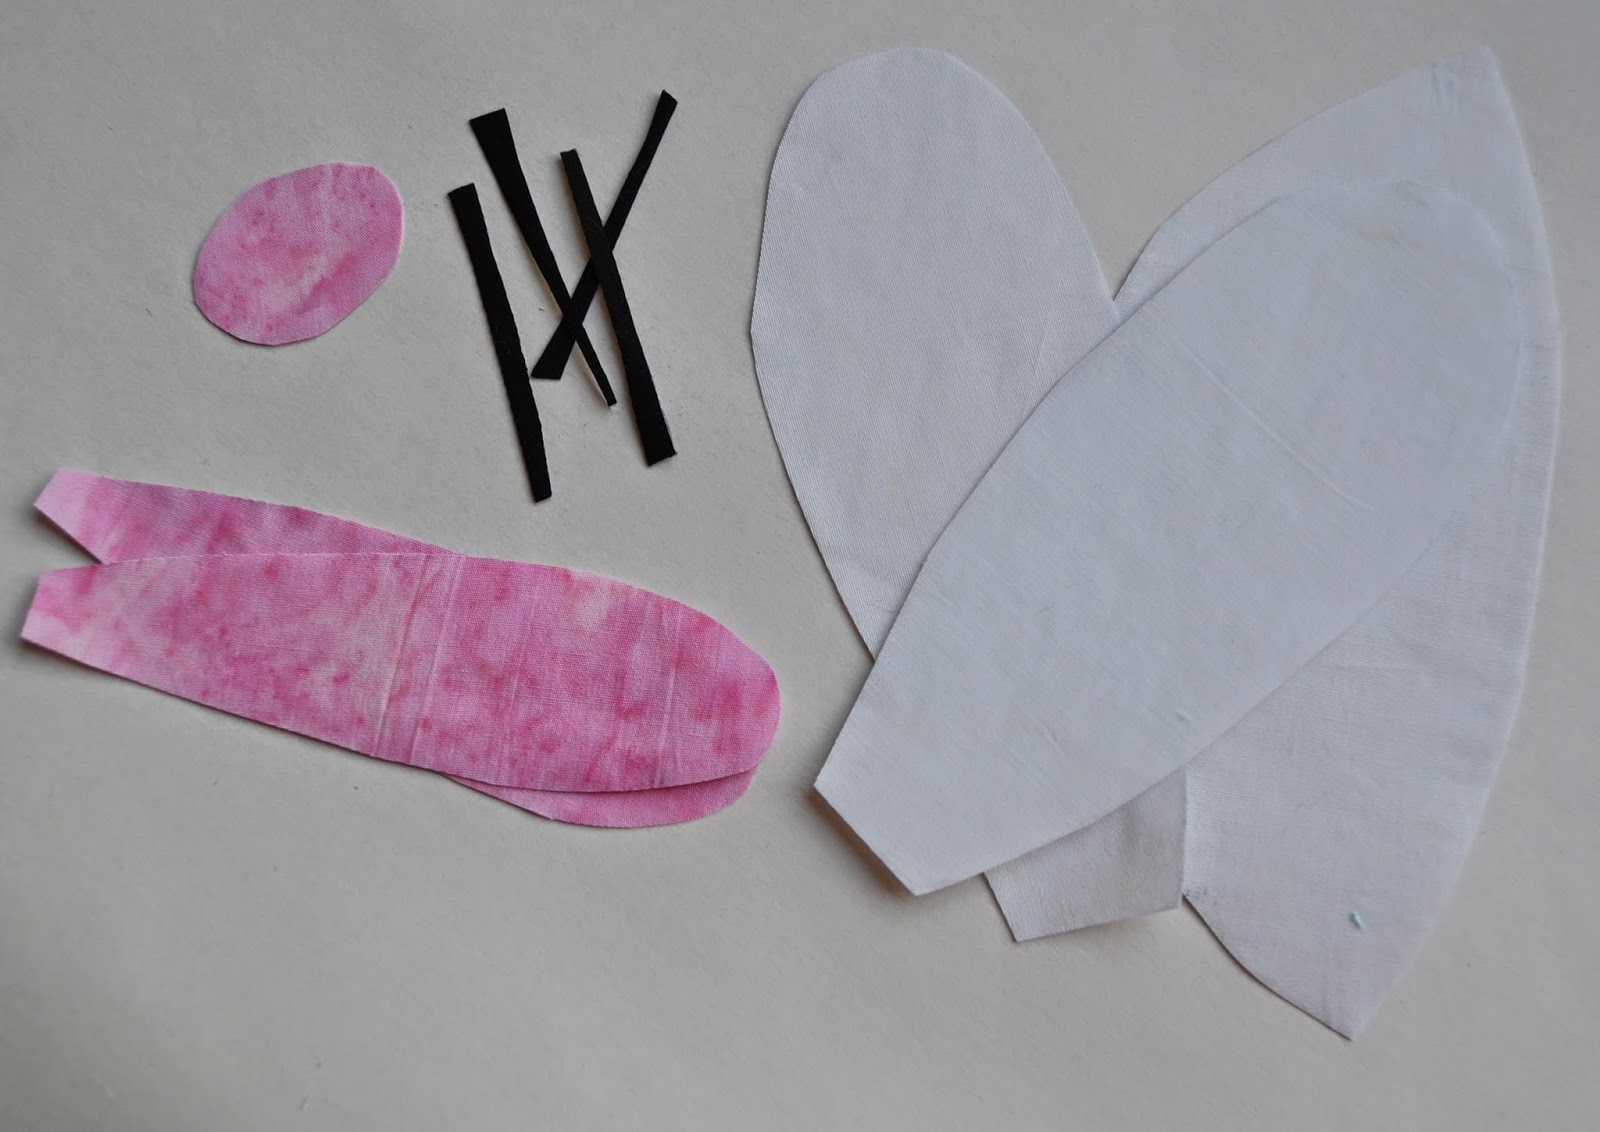
This is what the bunny in the pattern looks like.

Trace the individual parts of the pattern onto the paper side of Wonder Under.


Cut around each of the pieces.


 Iron each of pieces to the back of the piece of fabric you want for each of the pieces.  I like to use batiks because they have a tighter weave and the edges hold together better.


 Cut the fabric and the paper along the lines.


 I took the paper off the back of the pink and ironed it to the white part of the ears.  Make sure you leave the paper on the back of the white ears when you do this though.


 Take the paper off the back of all of the pieces and place them on the bib, being sure to leave enough space for a 1/4" seam around the edges. Press the little bunny in place.


Cut out another bib and place it on top of the bunny bib, right sides together.  Stitch around the bib, 
leaving an opening to turn the bib right-side-out through.  


After you turn the bib right side out, press the bib.  Sew around all of the bunny pieces.  This will tack the two sides of the bib together and make sure the bunny pieces stay where they are supposed to wash after wash.  Finally, topstitch around the bib.  Add velcro and you are done.

You can purchase both of these lines of fabric at Run 'n Stitch on Etsy.


Linking To:


Thursday, April 10, 2014

Easter Banner Tutorial in 5 Easy Steps


I like the little Easter baskets I made for my granddaughters.  Now I have to fill them with something. I decided to put a little Spring banner, or Easter banner in each one.  Banners are really fun to make because you can put them together pretty quickly.  

I chose a stack of 5 fabrics from Riley Blake's 'Snug as a Bug' collection for Jillian's banner.   Jillian is 4 and she loves pink so this collection is perfect for  her.


Step 1.  Cut a 7" Strip WOF

Step 2- Fold your fabric in half again, lengthwise. You will have 4 layers of fabric.  Using your Kaleidoscope ruler, line the 8-1/2" line with the fold of the strip.

Step 3- Cut the fold with scissors.


Step 4- You will have two flags from each cut. Your pieces will already be wrong sides together.  Zig Zag stitch from the point to the top of one side and then repeat on the other side.  Leave the top open, and press each flag so that it lays flat.  The zig zag stitch will bunch the fabric up a little bit so pressing is important.


Step 5-Pin a folded bias tape to the top of the flags, being sure the fold encloses the raw-edges of the top of the flag. Be sure you have about a 12" tail at each end of the banner.  Sew.


This is what your banner will look like.  


For Audrey's banner I used a stack of 5 fabrics from Riley Blake's 'Twice As Nice' Line.  


Instead of cutting using my ruler and rotary blade,


I drew a line around the ruler using disappearing ink


And then, using pinking sheers, I cut along the line.


After cutting, I sewed a straight stitch from the point of the flag to the top on both sides of the flag.  I put the banner together using red bias tape.


This little banner will go into Audrey's Easter Basket.


These baskets need one more item.  I think I have an idea of what it will be.  Stay tuned.


Linking to:


Monday, April 7, 2014

Easter Baskets


Barb at Mountain Quiltworks shared a fun little fabric basket she made using a tutorial on Tina Craig's Seaside Stitches blog.  I fell in love with these adorable little baskets and had to make one for each of my granddaughters.  I went straight to my stash and found the perfect fabrics.  Barb was right, they don't take very long to make.


The hardest part was finding just the right buttons.  I decided that next time, I will find the buttons first, then find the fabrics to match.  I think finding 4 of the same buttons in my messy button box, that matched the fabrics took longer than making both of the baskets.  

But aren't these buttons adorable!! They are old.  The little metal wires that held the buttons to the card were all rusty.  They needed to find a home. 


 They certainly don't stand out.  That's okay, I think this basket is just perfect for my little Audrey.


 Jillian's favorite color is pink.  I found four pink buttons, all the same size.


Saturday, April 5, 2014

Annie Sloan Chalk Paint Kitchen


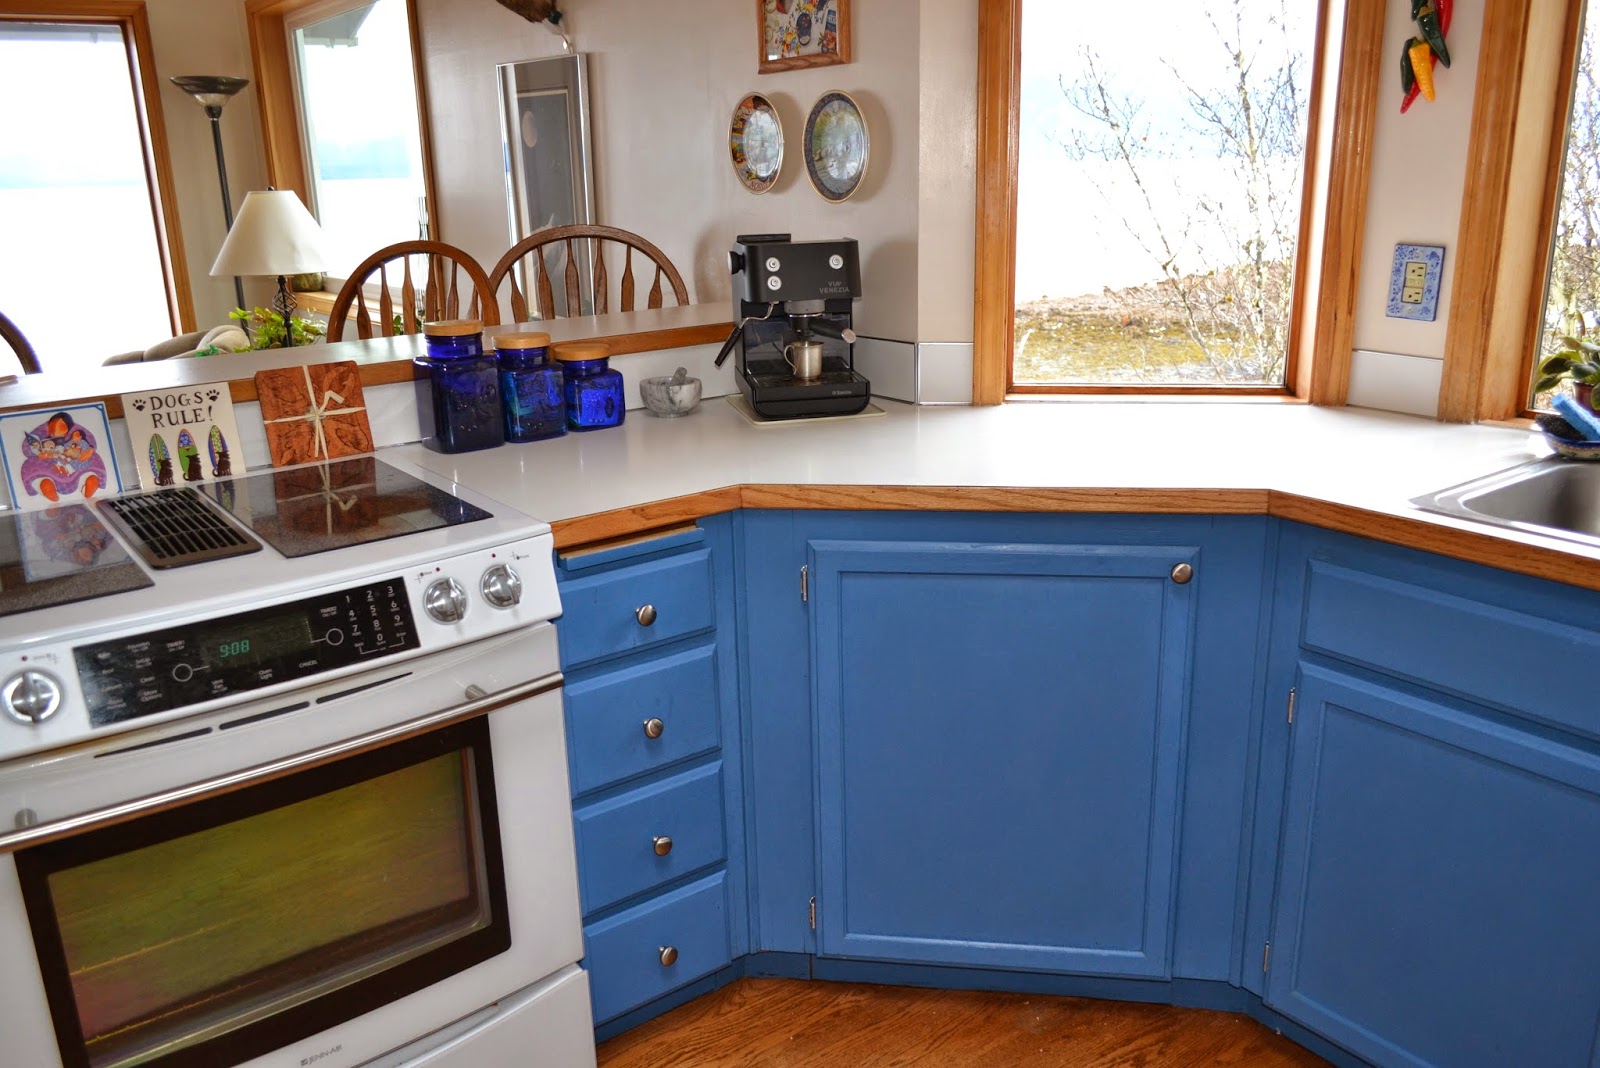
My husband and I were seriously considering a kitchen remodel.  We built our house in the late 1980's and hadn't changed the kitchen at all.  Needless to say it was very dated.  The cupboards are oak, you know the kind they put in homes in the '80's.  The floors are oak, which still looks nice.  The counter tops are white formica....really.   The more we talked about kitchen ideas, the more daunting the thought of a remodel became.  We had just remodeled the bathroom and my husband wanted to wait a year before diving into another project.  So I decided to paint the cupboards.  I told him that the kitchen couldn't look any worse than it did.

Before

I had been reading about Annie Sloan Chalk Paint on Pinterest.  I was intrigued because if you use this paint, you don't have to prime or sand.  This was my kind of paint.  I went to Home Depot to find it.  The people at Home Depot directed me to the chalk board paint, which was not what I wanted.  They had never heard of chalk paint so,  I went back to Pinterest.  I learned that Annie Sloan sells her paints through 'Stockists' around the country.  I had to find a stockist if I was to get the paint.  I looked on-line for a list of stockiest for Washington State, because I was going to be going through Washington.  I found a stockiest in the most adorable shop, Attic Door Vintiques, in Centralia, Washington.

My favorite color is blue so I decided to be bold and get blue paint.  I purchased 3 quarts of Greek Blue


and a quart of Aubusson Blue.

I also purchased a can of clear wax and a can of dark wax, a paint brush and a wax brush.  I was ready.  I'm wasn't sure for what...

I mixed the two colors together in equal parts, 1 cup of Greek Blue and 1 cup of Aubusson Blue at a time, and painted my cupboards.  When I was finished with all of the cupboards I had 2-1/2 cans of Greek Blue and a half a can of Aubusson blue left.  A little goes a long way.

All I had to do to prep them was wash them with windex.  There as no sanding, no priming, just painting.  I painted each cupboard with 2 coats.  Oh, and they paint dries in about 20 minutes so you can re-coat right away.  After the paint dried, I waxed them good with the clear wax.  My husband spray painted the hinges silver and I bought hardware for the cupboards and drawers.  The entire project took less than 1 week.

After

I also purchased a white dishwasher so all of my appliances matched.  


We still have white formica but it seems to fit.


Linking to Funky Junk-PJ233 Upcycled Link Party; Wicked Awesome Wednesday; Show and Tell Friday;