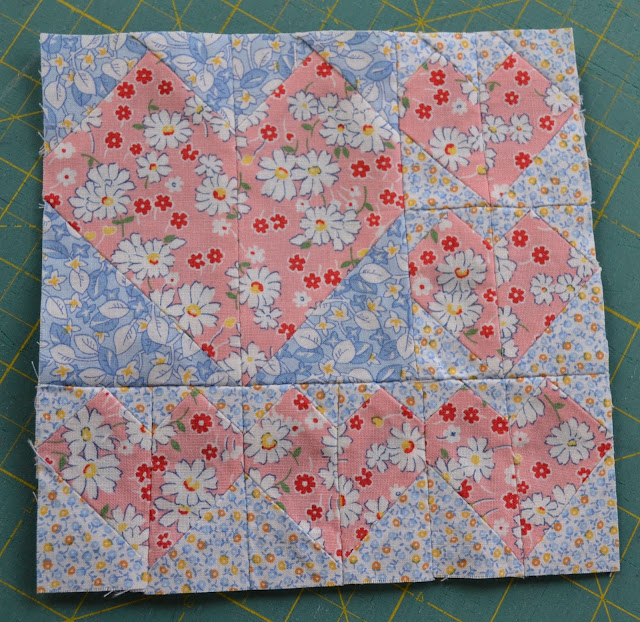
The other day while I was pinning away, adding pins to my Run'n Stitch board, I found this wonderful mystery block sampler called 'The Splendid Sampler Sew Along,' by Pat and Jane. I had to investigate. This sew along was starting that day and I wanted to join so badly. I am nearing the end of my 2 month camping trip and don't have my sewing machine with me so I thought I would have to wait until I return home in March to start the blocks. What was I thinking, right? How were quilts made in those dark days on the prairie? Women were quilting long before sewing machines were readily available. With renewed enthusiasm, I decided to use '30's reproduction fabrics and hand sew all of the blocks in this sampler. Let's see how that goes. I went to The Cotton Ball fabric shop in Morro Bay and picked up a spool of thread, an envelope of needles and 3 chubby eights to start my project. This post is a step-by-step for hand sewing the first block in the Splendid Sampler Sew Along.
Click HERE to join the Splendid Sampler Sew Along fun.
Steps 1-4
1. Pick out your fabrics-easy so far, right.
2. Cut your fabrics. Again, easy.
3. Draw a 1/4 inch line on two of your blocks.
4. Place your blocks together, just as you would for machine sewing, and sew together using a running stitch. I secure the beginning and end of the stitching by making 2 stitches in one spot.
5. Press the raw edge toward the darker fabric. Draw a 1/4" line on the back of one of the two block strips.
6. Put these two strips together. I start my running stitch for this section with a couple of stitches at the point where the seams meet. I start from the middle and work my way to the end. I like my corners to match.
Steps 7-9
7. Draw a line on the diagonal of all of your small squares.
8. Use a running stitch to attach the squares to each corner of the block.
9. Trim the excess and press in place.
 Step 10-12-The appliqué-yikes!
I have always used Kim Diehl's method for appliqué. I don't know any other method, except raw edge. I was in a pickle because I didn't have any freezer paper or glue and didn't want to buy any for this small project. I also don't have my machine. I had to mimic Kim Deihl's process without the important ingredients. I did have paper, a needle and thread, so this is what I did.
10. Cut out the heart you printed from the pattern. I cut the fabric to be sure there would be enough to cover the paper and then some.
11. Carefully turn the fabric over the edge of the paper and tack it down with a little basting stitches and then pressed it to make the edges crisp.
12. Center the heart on the 4 patch block. Measure to be sure it's right. Baste the heart to the 4 patch block.
13. Using an applique stitch, sew the heart to the block. When you are finished, pull out all of the basting stitches. But wait, this isn't the final step.
14. Cut a small hole in the back of the block and pull out the paper heart.
This may be the way hand appliqué is done, I don't know. It was fun to figure it out though. I look forward to the challenge of doing 100 blocks without a sewing machine.
(You might be wondering why I have a printer and cutting tools and not a sewing machine. I have a fabric shop on Etsy and I take some of my fabrics to sell while I'm on the road. I also bring printing labels and shipping stuff.)
Linking to: Handmade Tuesday's, Show and Tell Link Party, Tutorial Tuesdays, Linky Tuesday, Fabric Tuesday, Creative Spark Link Party, Let's Bee Social, Needle and Thread Thursday, Create It Thursday, Fabric Frenzy Friday,


